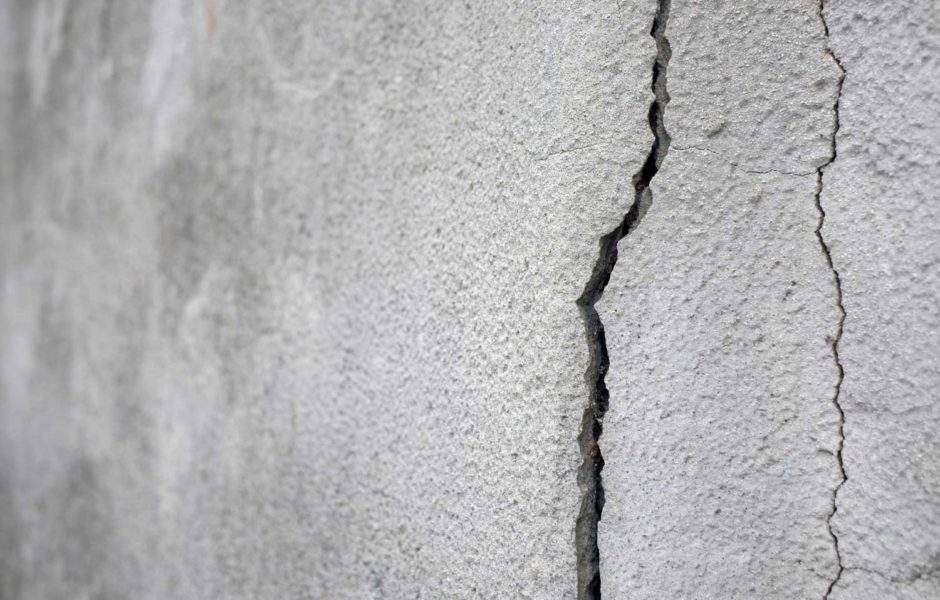
The condition of your property’s foundation is the most important thing when it comes to structural integrity. With time, cracks,
When it comes to waterproofing your basement you have two choices, interior or exterior waterproofing. Exterior basement waterproofing is the most common waterproofing solution, and recommended, as it is more affordable and less invasive. There are certain parameters that need to be met for exterior waterproofing to be viable. There needs to be enough space in the parameter of your house for the excavation of a ditch wide and deep enough for workers to safely work and access your foundation walls. Also, exterior utility connections have to be taken into account. Interhome Waterproofing offers a free basement and foundation assessment to determine the best waterproofing solution for you.
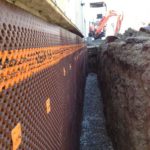
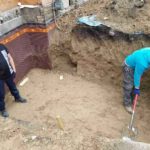
The first step of the exterior basement waterproofing process is excavating around the perimeter of your house and that includes removing any landscape elements, shrubs, plants, interlocking, etc. The removal is done carefully so re-installation of these items can be done when the waterproofing project is complete. The available space around your home dictates if an excavator is used or the excavation needs to be done by hand. The excavation is extended all the way down to the old weeping tile exposing your foundation walls.
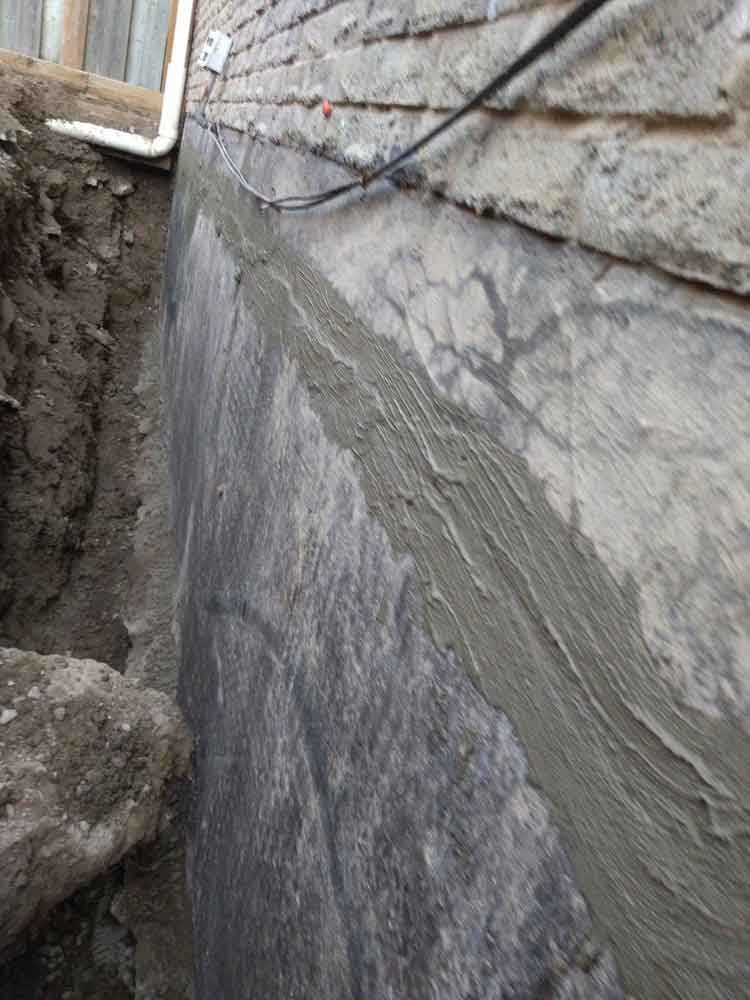
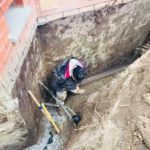
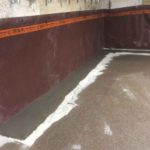
The foundation is thoroughly cleaned exposing all cracks, block separations, fissures or any other openings that water can sip through. A specialized hydraulic concrete is injected in all the cracks which expands as it dries sealing the openings.
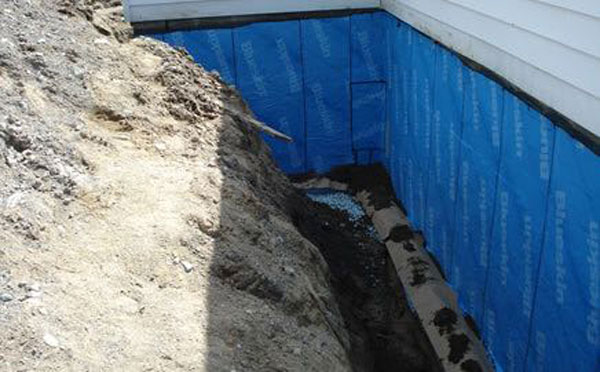
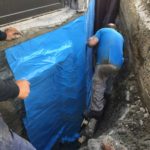
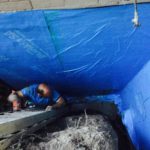
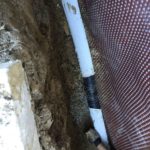
When the foundation has been repaired a self-adhering composite membrane is applied. Interhome Waterproofing uses Blueskin WP 200 which is a membrane consisting of an SBS rubberized asphalt compound which is laminated on a high-density polyethylene film. This material might be costlier but it provides a high-performing waterproofing barrier superior to other waterproofing products. This membrane acts as a waterproof barrier, it is flexible enough to stretch and continue to provide protection in the case new foundation cracks form.
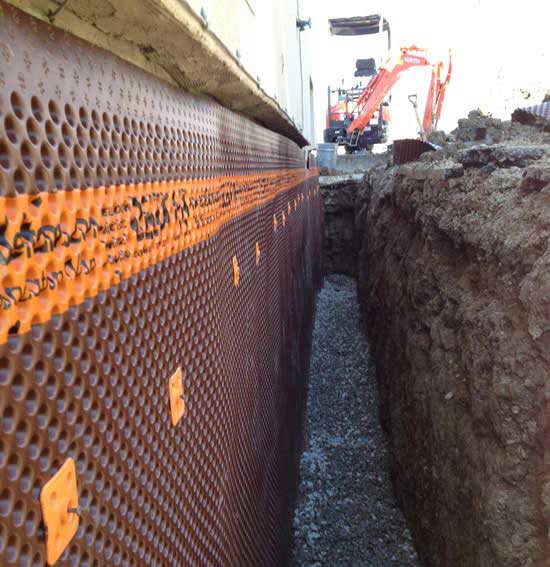
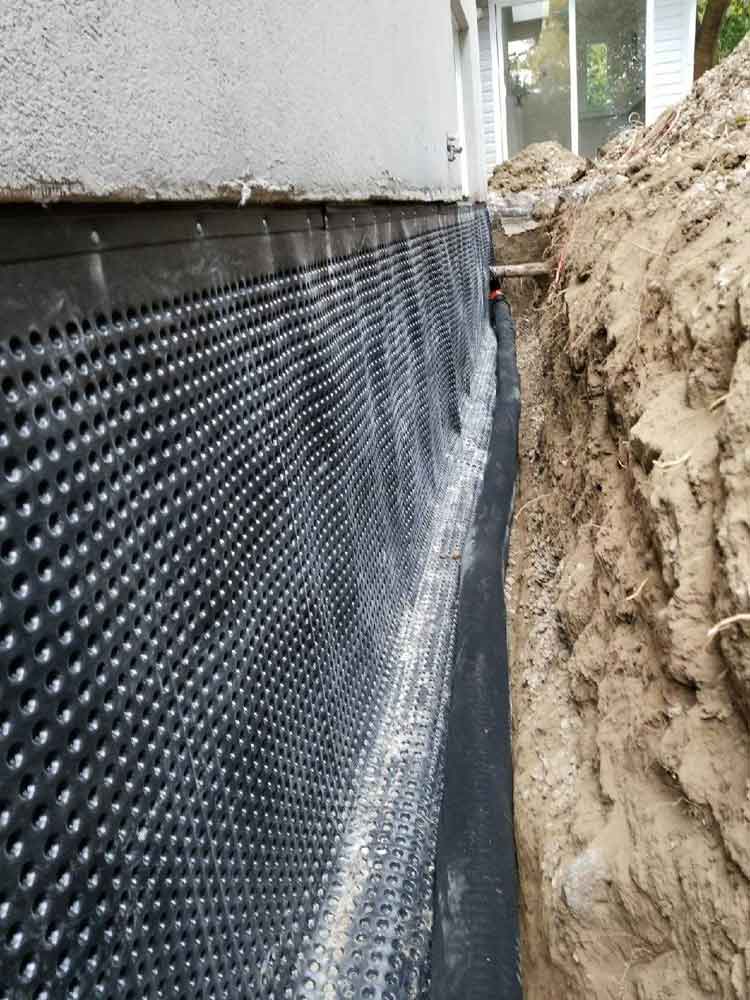
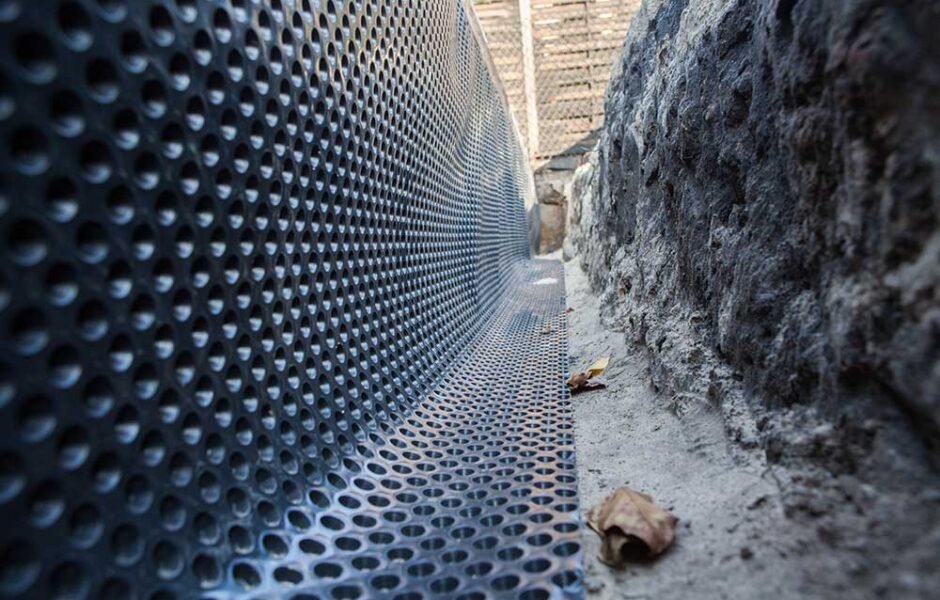
The drainage board membrane is applied on top of the Blueskin layer and its main function is to drain water all the way down to the weeping tile system so it can be discarded away from the property. This membrane is dimpled creating space between the membranes for water to filter down the foundations walls. Besides channeling water to the weeping tile it is also impermeable to water and water vapour.
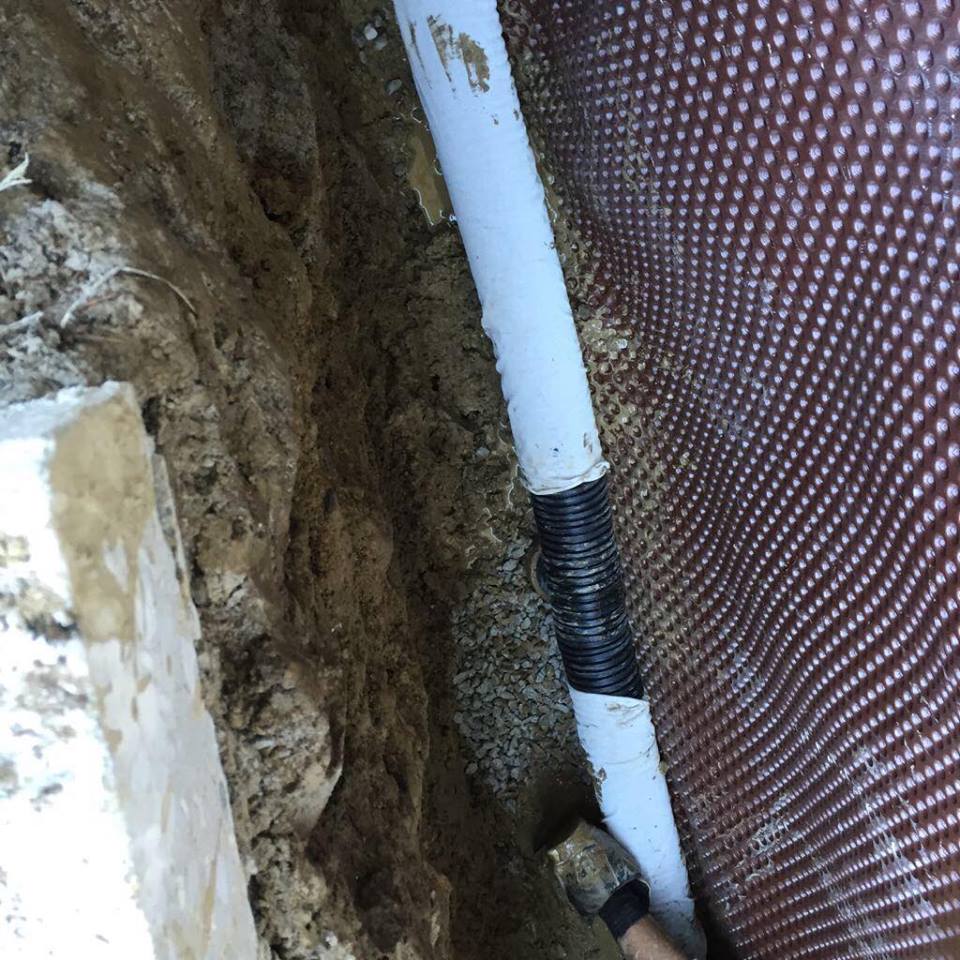
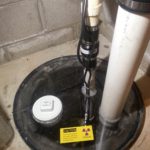
The last component of the waterproofing solution is installing a new weeping tile system. First, the old weeping tile pipes and clearing the way for the new installation. A perforated pipe is placed at the bottom of your walls around the perimeter of your house. This drainage system gathers excess water and discards it away from your property. A cloth is layered on top the weeping tile and a layer of gravel is placed on top for better water drainage.
Finally, when the waterproofing installation is complete the space of the ditch is tightly packed with soil and all landscape elements that were removed are re-installed.
Interhome Waterproofing offers good quality basement waterproofing services, give us a call today to make an appointment for your free on-site inspection and consultation: 416-836-5253
The condition of your property’s foundation is the most important thing when it comes to structural integrity. With time, cracks,
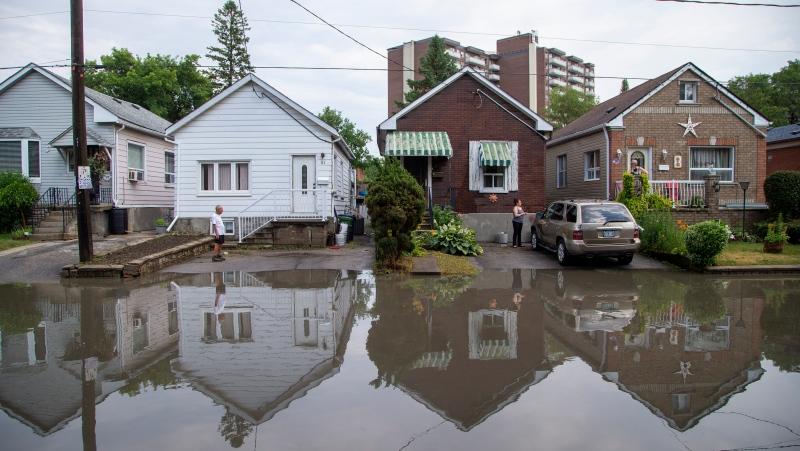
Did you know that flooding is the costlier natural hazard in Ontario? So much so that the provincial government has
Having a reliable basement waterproofing company in Toronto on your contact list is important for keeping your home in top